Grilled Spiralized Vegetable Quesadillas
 My mother-in-law once told me that, in the summer, all New Englanders lock their cars. They are not doing this out of fear of theft but because they know it is likely that someone who has too many zucchinis from their garden will put them in random cars when no one is looking. The vision of that has always cracked me up.
Whether you are drowning in zucchini or are picking up your veggies at the local farmer's market, I have teamed up with Williams-Sonoma to share the perfect easy summer recipe with you - grilled spiralized vegetable quesadillas.
(Disclosure, this post contains affiliate links)
 What is a spiralized vegetable you ask? It is a vegetable cut with a spiralizer, a hand cranked machine that slices your vegetables in thin spiral cuts or shoestrings. For this recipe, it is really a personal choice of what ingredients to use. I chose zucchini (I only used 2 of the 3), two large carrots and a medium sized red onion. You also need tortillas (8), about 2 to 3 avocados, about 2 1/2 cups of shredded cheese of your choice (I used mild cheddar) and 2 to 3 limes. I also recommend fresh cilantro. I made a total of four quesadillas with these ingredients.
I chose not to use any meat this time, but this recipe would easily pair with grilled steak, fish or chicken for a heartier meal.
 This was my first time using a spiralizer so I wasn't sure what to expect. I chose this one with three blade options. I started by using the slicing blade for the zucchini and it easily cut long curly strands.
 I switched to the blade with the smallest openings for the carrots I loved how this worked. I always buy the bagged shredded carrots to quickly throw in my salads, but I always prefer the taste of fresh whole carrots. Now , I will be able to easily shred carrots myself.
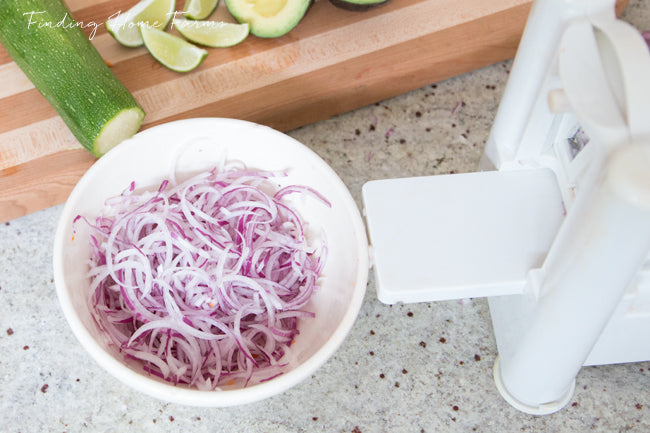
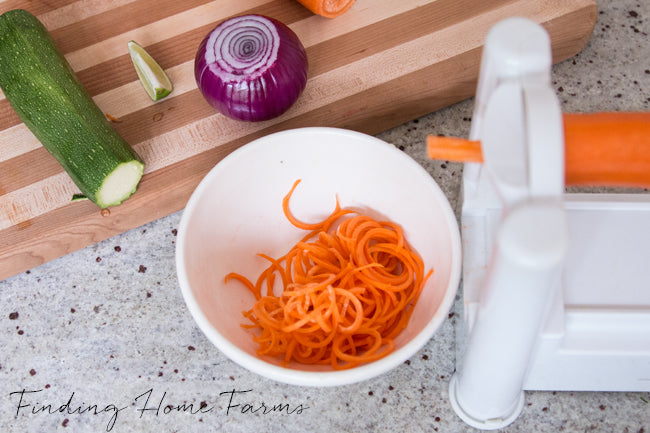 Slicing the onion literally took ten seconds. Everything was cut perfectly and no tears. I left the onions in the longer strands for the quesadillas, however if I were using them in something like potato salad, I would just add the step of dicing them up smaller with a knife.
 I threw everything in a large pan with a little bit of olive oil. I squeezed two limes over the top and then added some salt and pepper. You can feel free to season it further, but I preferred to keep the flavors pretty clean and simple. I covered the pan and cooked on a medium heat. It only took about 10 minutes until all of the vegetables were soft. With everything being so thin, they cooked up really easily.
It was such a hot day so I did this step inside while I continued prepping, however you could easily cook the vegetables on a grill side burner or on a tray on your grill as well.
 Next, lay out your tortillas and scoop the vegetables on. Then sprinkle a layer of cheese over the top of your vegetables. You could add other ingredients such as salsa at this point, but I chose to keep the other ingredients to be added after the quesadillas were grilled.
 To grill your quesadillas, you can lay them directly on the grill and then use a spatula to flip them. I used this quesadilla grill basket to make the process even easier. We eat a lot of quesadillas in our house both for lunches and dinners. We often use leftovers in a quesadilla for a quick meal or set out a quesadilla bar for everyone to make their own. This is the perfect option to keep the meal cooked outside and to add the delicious flavor that only grilling can provide. I am serious smitten with this kitchen helper.
To use the basket, slide the bracket down on the handle to open it and place your quesadilla inside. Close the basket over the top and then slide the bracket back up to hold it in place.
 Place the basket right on your grill with the handle away from the direct heat. I had my grill set to medium heat and I closed the grill over each time to make sure that the quesadilla was heated all the way through. Once the tortilla started to brown, I flipped it over. It took about 3 minutes on each side. You will need to use oven mitts when taking it off the grill and when opening it to put in another quesadilla.
 As a bonus, I am going to share the avocado trick my friend Debby taught me years ago for how to correctly slice an avocado. First, cut the avocado in half and separate the two sides. Chop your knife down on the so that it catches the pit. Make sure to do this on a cutting board for safety.
Then pick up the avocado and hold it in place. Twist the knife and pull the seed out.
 Using a spoon, scoop out the full fleshy part.
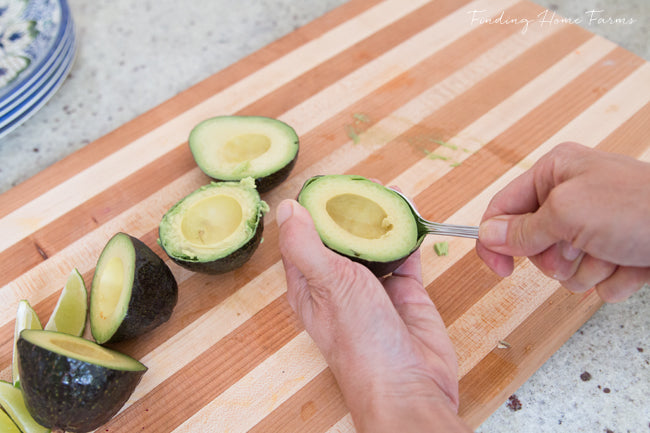 Then, slice it with a knife. See? Super easy!
 When all of the quesadillas were cooked, I placed them on a cutting board and used a pizza cutter to cut them in four sections and stacked them to serve.
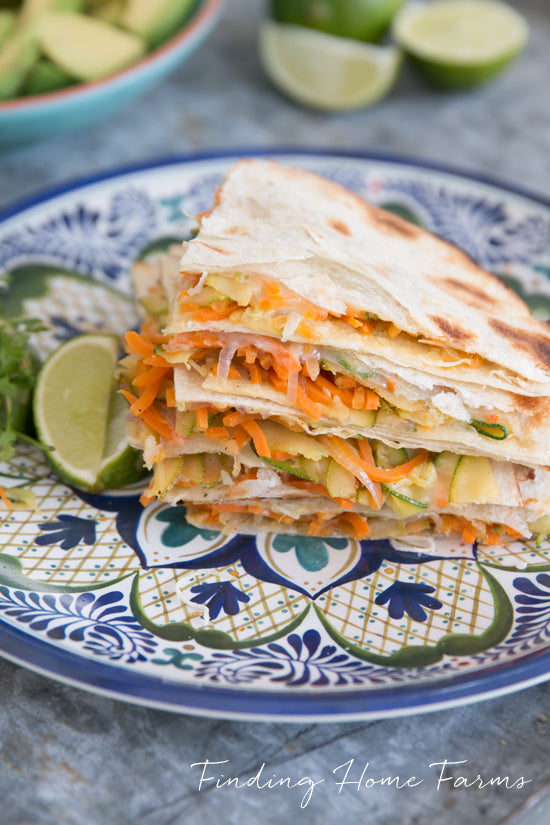 I served them with salsa, avocados, lime and a teeny tiny bit of cilantro. Unfortunately, my cilantro in my container garden did not do well and this is literally all that made it. I seriously recommend fresh cilantro because it is the perfect flavor addition to a quesadillas. If you have not yet experienced fresh lime squeezed over a quesadilla or taco, please run to your closest lime source and get some. There is something about fresh lime that pulls all of the flavors together so pefectly. Seriously, trust me on this one.
 I brought a tray out to our porch with all of the ingredients and these beautiful melamine plates. I love that melamine has gotten so much prettier recently and a shatterproof option can look like real plates. This made for a really quick and simple summer meal that my family loved. When we were finished, we loaded everything back up on the tray to bring right back inside for an easy clean up, which of course, is my favorite.
 I am looking forward to trying this next time with some grilled steak. Now I am off to see if I can find some new cilantro plants to try again.
Thanks so much for reading!
 Disclosure: Thank you to Williams-Sonoma for partnering with my on this sponsored post. All opinions, ideas and love of all things spiralized are my own.

