DIY Painted Ticking Stripe Table
 Truth be told, I am a bit of a furniture hoarder. When I walk past a beautiful piece that just needs love, I can't help myself. As a result, my garage has become a “Land of Misfit Furniture” waiting for the day when each piece reaches its full potential. I recently did a major purge and only kept the things that I love. On the top of that list was this vintage table. She had great lines but the color was just a flat black/ brown dirty mess. I decided becoming a painted ticking stripe table was just what she needed.
  The best part is that this was a really easy process and I used a favorite trick to not have to measure when adding a stripe pattern.
This table is a pretty classic treatment that is really easy to do. The materials you need are: - Table of your choice - Drop Cloth - Painting tray or other disposable tray - Wooster® Pro Nylon Brush available at The Home Depot - Wooster® Pro Shed Resistant Roller available at The Home Depot - Behr® Marquee™ Paint in 2 colors – Base color is Scribe (MQ2-31), Accent color is Almond Butter (MQ2-23), both in an eggshell finish. The Behr® Marquee™ Paint is available at The Home Depot - ScotchBlue™ Painter’s Tape Delicate Surfaces with Advanced Edge-Lock™ Paint Line Protector 2080EL in two sizes – 1.41” and .94” available at The Home Depot
Pour your base coat into your tray. I often use a tin tray which works great for both your brush and your roller.
Roll the paint on your flat surfaces. The coverage of the Behr® Marquee™ Paint was fantastic. However, since I was putting such a light color over a dark color, I applied a second coat on the flat surfaces.
Second, use your brush to paint all of your edges and legs. I applied one coat and then just touched up in the spots that I missed. Let your base coat dry for at least a few hours.
To create your pattern without measuring, use your ScotchBlue™ Painter’s Tape. Start by figuring out the proportions of the pattern that works with your table size. I started with the wider tape right down the middle and then added three of the thinner pieces on each side.
Then, I removed the center piece and then each of the alternating thinner pieces to create the pattern below.
Then fill in with your darker color between the lines of tape.
While it is still wet, remove the tape to reveal your pattern. I went back in with two more lines of tape to make the center line thicker. I felt the proportions were better this way.
For the bottom shelf, I ran the wide tape down the center and then added four pieces of the thinner tape on each side.
Then remove the center three pieces and then the alternating outside pieces. Again, fill in with the darker paint color. Remove the tape while the paint is still wet.
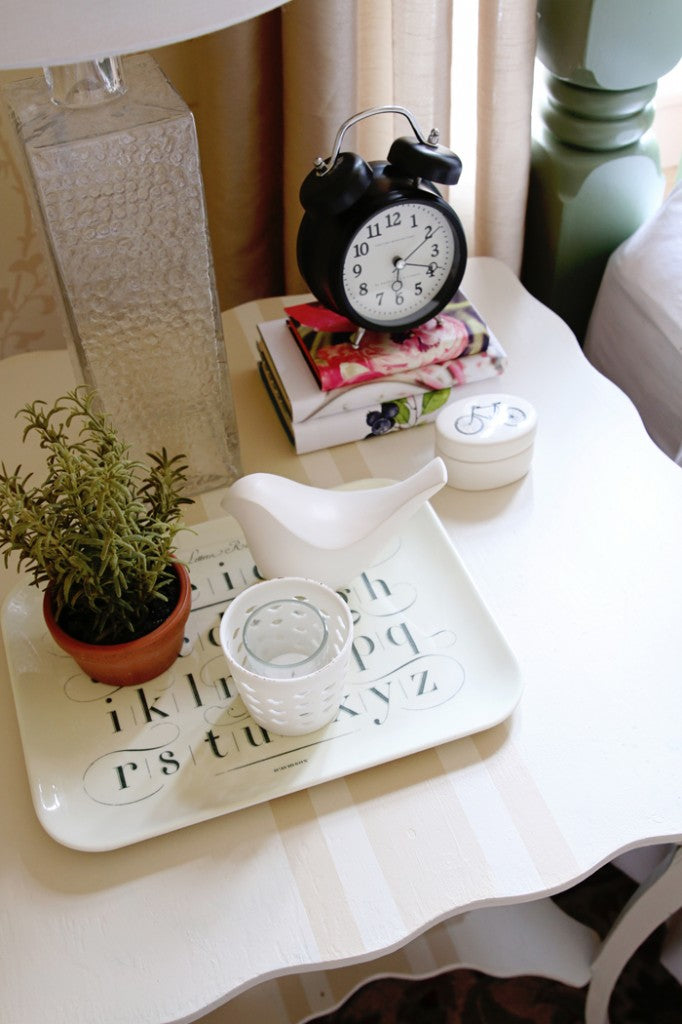
Here is my finished table, isn't she pretty?  I replaced the black metal table that was acting as a nightstand in our guest bedroom. The style of this table now ties in with the traditional farmhouse style of our guest bedroom and I could not love it more.
  I added a few touches to make our guests more comfortable but still kept plenty of space open for their own items. As well, I added a basket of magazines next to the table for our guest to peruse.
  What about you? Do you have a table just waiting to get a ticking stripe treatment? If not, keep this idea in mind the next time you are out "treasure hunting" and you may find the perfect table that just needs a little love. My table was a square, but pretty much any shape would work. I would love to try it on a round table some day soon.
  All of the products I shared here made this project super simple and quick and are available at The Home Depot. Be sure to join the The Home Depot Consumer Program for exclusive information. You can also follow along with the social media for all of these brands here: ScotchBlue™ Painter's Tape Facebook ScotchBlue™ Painter's Tape Twitter ScotchBlue™ Painter's Tape Pinterest The Home Depot Facebook The Home Depot Twitter The Home Depot Pinterest Thanks so much for reading!
  Disclosure: I am proud to be a 3M, Behr®, and Wooster® - sponsored blogger, and, as part of my responsibilities, I get the opportunity to evaluate products. Opinions are my own and additional product used in the project were selected by me.

