Crayon Watercolor
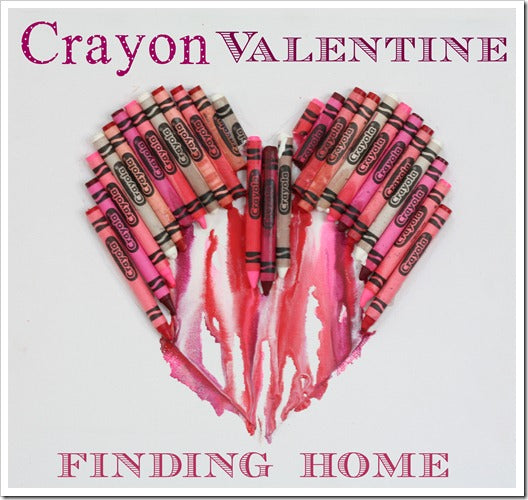
Last week I shared a project I did with my daughters, a Crayon Valentine, this week I am sharing a new Valentine project.
We used essentially the same techniques as the Crayon Valentine.
After we finished that project, we had another idea. We loved so much how the color ran that we thought we would try to use it like paint.
We used the same heart template, and this time used painters tape. Again, the color did run (which I actually like but drove my daughter nuts!), so my tip would be to paint the canvas a color first (white would be fine as well), draw your shape, paint it again so that the edges are sealed, then apply the technique.
We used a heat gun instead of hair dryer which I think would do a better job of melting the crayons. We peeled off the wrappers, held it over the canvas (which was on a slight angle) and let the color drip onto the canvas. You can control the look by layering colors, changing the angle of the canvas as the color runs and applying additional heat where you would like.
Please accept my apologies for the dark photography, we did these projects in the basement.
Here is a little bit of a closer look. You can still see the pencil mark in some places, but again, I am okay with that. I like how in the end it looks a lot like a watercolor painting.
As with the other project, this can be applied for any shape, including letter or words.
Are you working on any Valentine’s Day projects?
I will be joining up with some of the link parties you can find here.
I am also sharing at Decor Chick's Valentine Party, stop on by!

Thanks for reading!

