Guest Bedroom Decorating - A Welcoming Makeover
 Having a guest bedroom in our house is a privilege that I am so thankful for. It allows us the opportunity to have friends and family come and stay with us for short and long visits alike. We were lucky enough to have some of our dearest friends stay with us this fall for two weeks. If we didn't have a guest room, I am not sure that would have worked out. My parents don't live far from us, so having a place for them to stay for overnights is great as well. They often will come for dinner and just stay and relax and we are lucky enough that they will also stay to babysit so we can have a night out or even away (woo hoo!).
 As much as having our guest room is nice, two issues have come up that lead to us doing some guest bedroom decorating. We didn't paint, or change the rugs, mostly we just simplified. But even more importantly, we focused on comfort. My mom had made a few "hints" recently asking us exactly how old the mattress in there was and were we planning on replacing it any time soon. Here is what our guest room look liked just a few weeks ago. Pretty and fun - but too busy. I began to realize that for the comfort of our guests, not only did I need to address the mattress, I also needed to simplify the decor for it to be more peaceful and welcoming.
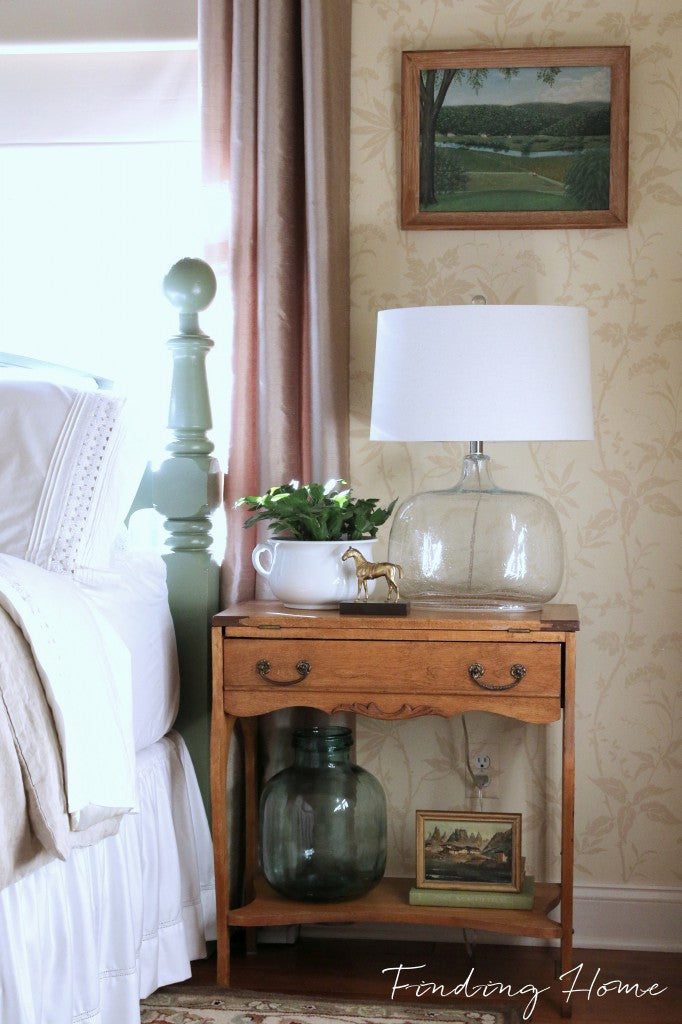
We started with a new mattress - The ComforPedic iQ by Beautyrest. This is one beautiful mattress, and high tech in a simplified way. When the mattress arrived, there is a button to push to release the pressure built up while in transit. Or, you can just leave it to calibrate to the room and the people sleeping on it. I like that it is personally adjustable and calibrates to your body's weight and position without having to plug into a wall and have all kinds of dials and buttons. My mom also comments on temperature in the room as well, so I was glad that it also has an Ultra Cool Memory Foam to help maintain a comfortable sleeping temperature as well. The surface is quilted (and pretty!) so the basics of comfort are addressed as well.  We recently moved to a king size bed in our bedroom, so our bed frame that was in our room was then moved downstairs to the guest bedroom. The next thing I did was take everything off the walls. I felt like the gallery wall was just too busy. I practiced serious restraint and only hung two pictures. The landscape painting is the one I told you the great story about a few weeks ago. By only adding two pictures, the focus is so much more on the wallpaper which I love so much.
  Then, I finally hung curtains in this room. I went for a very neutral and solid color just to bring a little bit of warmth and softness. I am so please at what a difference it made. Since our window frames are already so high, I chose to go across the front of the molding and keep it relatively tight to the window width.
  After working on the room for a bit and feeling pretty frustrated, I finally realized that the dresser needed to come out and the bed needed to be moved to the window wall. The dresser was empty and guests didn't really seem to use it anyway. We have plenty of storage in the closet so the dresser really was just taking up needed space. The room is on the smaller side and I felt guests would more likely need space to leave the bags and suitcases then a dresser of drawers. Once I moved the bed, the whole room flowed so much better. Actually, I batted my eye lashes and asked hubby to help me move the bed!
  Again, out of my norm, I practiced great restraint on the side tables as well, adding just a few decorative items and leaving room for guests to put their things. One of the few new items I bought for the room was two lamps. The ones that were here were in rough shape and not the right scale for the room. Both of the side tables were in my garage stash. Actually, the black metal table was in our yard sale but did not sell. That worked out great because it ended up working perfectly in here.
  When the room was all said and done, part of my like the big empty wall when you entered. It was quiet and simple. but part of me knew it needed one purposeful thing. I went to my wood stash and sanded and added wax to a rustic board. I screwed right into three studs and then added three hooks for bags, coats, etc. for our guests. I tucked a long vintage bench under it and the two combined were just what that wall needed.
  Then all that was left was adding in the details. The bedding had been set aside to put in our own bedroom before we switched to a king bed. It is a linen duvet with a simple ruffle. I dressed the bed in white sheets and added two throw pillows, again showing restraint and not adding twelve.
  And now we are ready for guests! If you would like to find more details about the Comforpedic iQ by Beautyrest mattress, visit their site here for all of the cool technical details. Since I finished updating this room, I updated one of the side tables. You can find that post by clicking here - DIY Painted Ticking Stripe Table. Thanks so much for reading!
  Disclosures: I was provided compensation and the mattress in exchange for writing this post. However, all opinions and ideas are my own.

