A Bigger Spot for Jewelry

So, this is my project I would like to share with you today..  There are plenty of postings out there for framed jewelry holders. Heck, Pottery Barn even just came out with one recently in the catalog! Just the same, I thought I would put my own spin on it. This all started when I was visiting my dear friend Julie a few weeks ago. You remember her…

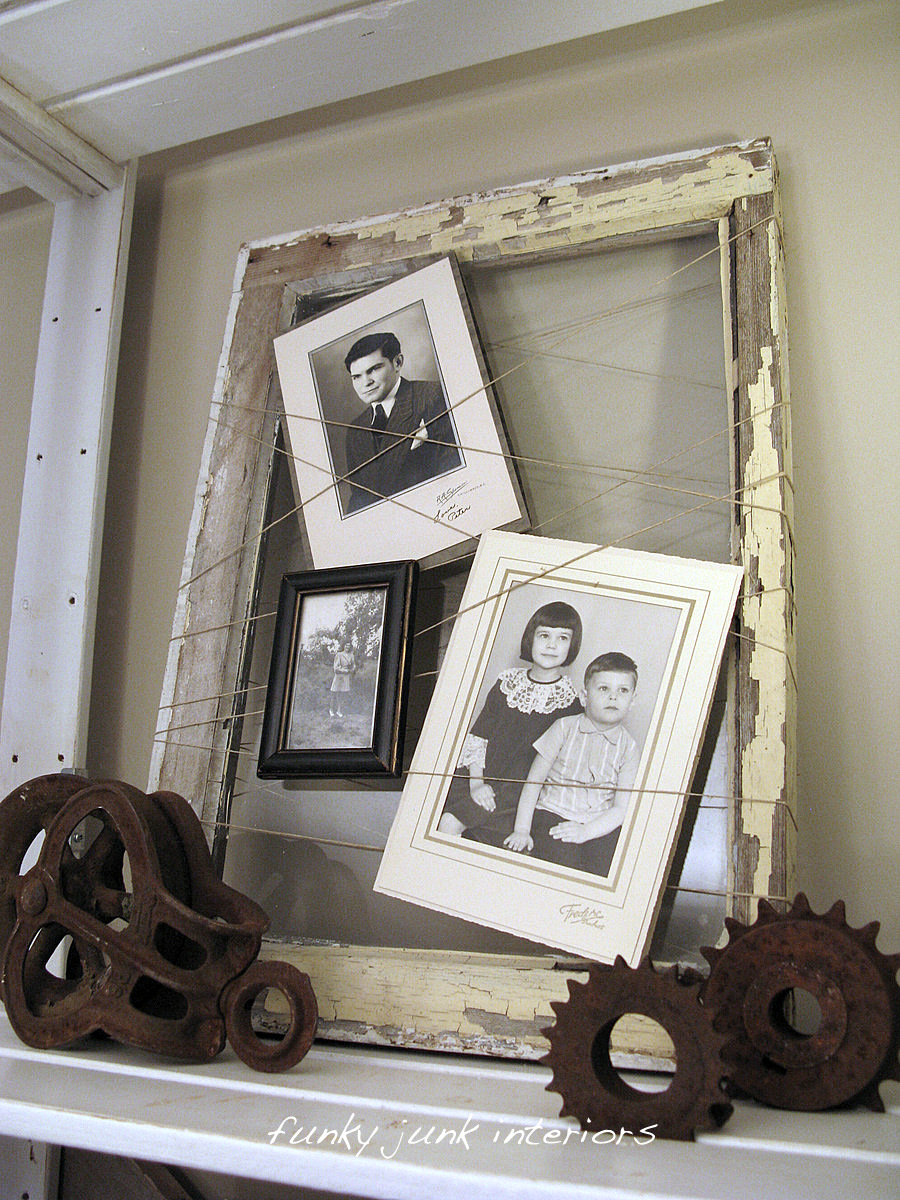
 …I decided to make one for myself. So began my journey to figure out what to do instead. I began to think about stringing something across but knew I did not want to do wire, but what to do? So then, I saw this at Funky Junk Interiors and that got me thinking about using twine instead. Thanks Donna!
 As I began working, I realized this actually was quite an old frame. I began by removing the back piece, it really was unnecessary for this project and on its own it is a great piece I will use somewhere else.
  I measured three inches from the top and the bottom and then five inches in between for each after that. You will have to decide spacing based on your frame size and needs.
  I began by stapling the twine on one side and pulling very tight to make it taught. Unfortunately, that just caused the twine to snap.
  I decided to braid three strands together and moved forward that way. Actually, I did get sidetracked for a bit on a ‘70’s Girl Scout Camp tangent and started to macramé. Yeah, pretty unbelievable. I didn’t even know that I still knew how to do it. I just saw the three strands and away I went. Fortunately, I did not get too far into it before I realized that was the wrong way to go! I found it was easiest to knot the three strands on one end, staple it once in place, then braid. Once it was long enough, I knotted the other end. Then I went back to the first side and put in more staples to ensure it was secure then tightly pulled and stapled to the other side. I used several staples on each side.
  This is what it looked like once it was all secure. Then I cut down a piece of burlap, ironed it and stapled in securely to the back. Sorry I forgot to take a picture of that step.
  I then sprayed 1” and 3/4 “ “s” hooks with gold metallic spray paint. I know, I should have taken a picture. Anyway, I hung those on the twine and then hooked right into the burlap so that it would not slip out. Some necklaces I draped of the top, some I clipped right onto the twine and some I hung on the hooks.


 In the end I am very happy with how this project looks. I will have to see how it functions. I am a little worried that the “s” hooks are going to slip off too easily. I am going to keep my eye out for something that might clip on better. Also, the twine does sag a little even though I pulled it tight. Again, I will keep my eyes out to see if there is a better solution for that as well. I would like to make one for my sister (amazing sister, that is!) and of course, Julie. Unfortunately, she called me today and said she might try to do something different. Oh well! I can’t wait till she finishes her bedroom so that I can share it here with all of you! Have a great one!
I am sharing this post at the link parties in my sidebar. Go check them out!