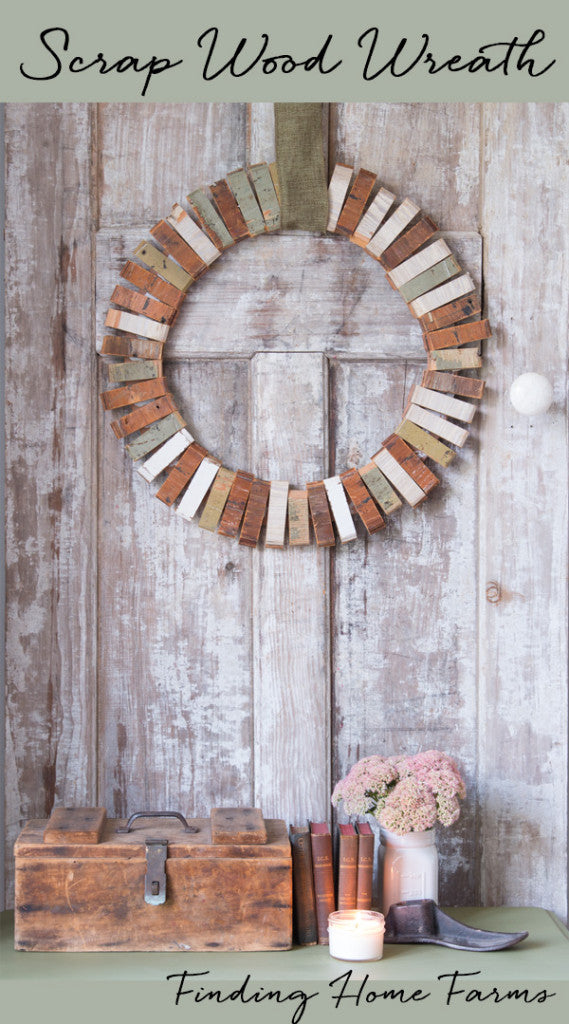
It has been some time since we have heard saw blades buzz around here. It felt so good to get back to yesterday after a summer away from projects. The idea of a scrap wood wreath has been in my brain for a bit now, and it is the best feeling for it to finally be hanging in our home. It is kind of perfect in all of its imperfections, exactly as I had pictured it in my mind.
One of my favorite things about this project is that it was so super easy and didn't take long at all.

And it inspired me to do a little bit of fluffing and fall inspired decorating. I am not sure what will stay where, but it felt good to be paying attention to it our home again. I am just starting my fall decorating because I need to be ready for Monday September 14th, when we start the 2015 Finding Fall Home Tour. We have a great line-up of bloggers, and I hope you will join us!

To make this wreath, you will need some scrap wood, or new wood that you paint, stain, or a mixture of the two. The wood I used had a different types of paint on it and the back was dark wood. I just placed the pieces randomly, mixing if I showed the painted side or the stained side. You could easily recreate this look with some paint and stain.
Of course, this is not just any old wood.
This wood tells quite a story.
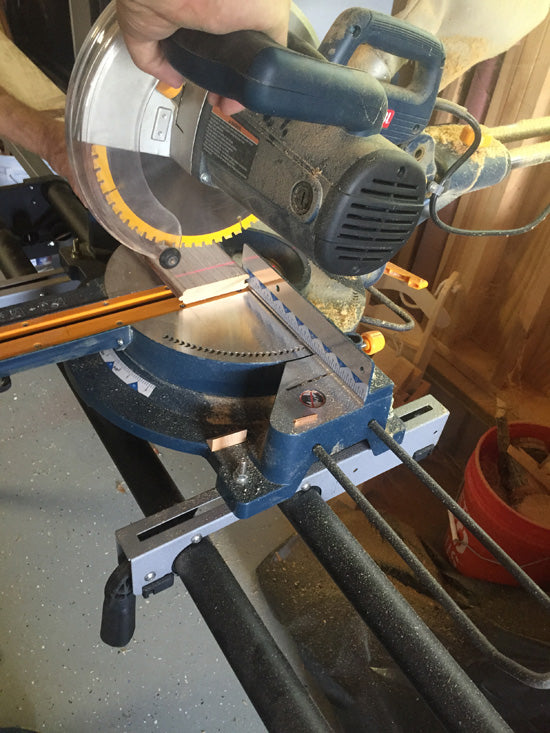
We used our chop saw to cut them down to about 1" pieces. The board was pretty beat up, so the width was not the same throughout the board, but we just kept it at the size it was which was around 3". I placed them on the wreath as we cut to see how many we needed, and then dumped them off and began placing them one by one, mixing up the size and finish.
I used Gorilla Glue construction adhesive because I wanted to make sure it could handle the weight and be used outdoors. In the end, the wreath isn't very heavy, but I am still glad I used this adhesive. I simple spread it on a
18" flat wood wreath form (affiliate link) and placed each piece of wood on in a random pattern.
Before I began, I ran a piece of wire through one of the holes in the wreath to hang it. I covered it with a ribbon for hanging, but the weight is on the wire.

The biggest challenge here was spacing. I knew I had no need for it to be perfect. We could have spent hours calculating and measuring the perfect angles so that I would go together like a puzzle, but that really is not our style. Instead, I kept spacing them and adjusting them as needed. The adhesive gave me plenty of time to work all the way around the wreath and adjust as needed. When I got back to the top again, it was a tight fit, so I cut a smaller piece to wedge in. There is still a little bit of space at the top but it is covered by the ribbon.
After it was complete, I let it sit overnight to set up.

And there you have it. An imperfect wreath made from sentimental wood that reignited my fire to get some fluffing down around my house.
Just my kind of project.
Thanks for reading.